So armed with new resolve I started looking at how to build a patio with fire pit in our yard. I researched materials and the do’s and don’ts in building the structure that I envisioned. I priced out the cost of the materials and my paid laborers and I thought I could bring the project in for significantly less than the quoted price from a professional.
So armed with my new found knowledge I took a trip to the Lebanon Block Plant. I’ve lived in this town for 31 years and had no idea we had a block plant! The worker wanted to be helpful but he admitted he normally worked in the yard so that should have been my first clue. He showed me a patio kit and since I wanted to do a circular patio ordering a kit was key for me. He told me one kit built a six foot patio and two kits build a 11.5 foot patio. So he ordered the blocks for me. I also picked out a fire circle that day as well.
I went home and started the work of preparing the ground. I measured out the width of the circle and very carefully marked the circumference of the circle and double checked the total circle measurements. My work is pretty unremarkable, but still key to the success of the project.

Next we had the materials we needed delivered. Home Depot had a cool little tractor that was able to deliver the supplies right to the side of our project area. Unfortunately the delivery from the block plant was not so helpful. The offloaded the bricks to the very front of the house....and probably the place on our property most distant from our project area. That just meant we got to bring every brick across our property in our new wheelbarrow! See the blue wheelbarrow below.


Owen came over and helped Joe and I dig down approximately 5 inches, two inches for the bricks, 2 inches for the sand and an inch for the matting that we used. This is a new product that replaces the crushed stone and was easier to work with and saved our backs. Owen is really good at making the ground level and this really helped us to get a good start on this project.
In the photo below you can see the mat and how it serves to create a stable surface for the bricks to rest on. The Boardman boys helped us start the process of laying our circle out on the prepared surface.

We worked all day laying bricks, following the pattern provided and we got to 11.5 feet, the diameter I was told was the diameter of the two kits.....that is when I realized I had nearly 3/4 of a pallet of bricks left. So I stopped and emailed the woman who I talked to after the bricks were delivered without any directions.....and trust me directions were needed, yea essential. It was after hours so I did not expect a response until Monday but with our cell phones not even the block plant office staff are able to get away from their email. Tori answered my question about why we had so many blocks left.....essentially the yard guy told me the kit dimension of 11.5 feet was only 3 feet off. In looking at the existing patio footprint I decided 11.5 feet was too small and we really did need to make it bigger. I talked to Tori and we decided to make the total dimensions 14.5 feet. She told me I needed two expansion packs to make that work....so I bought more bricks. Obviously this necessitated more digging and leveling and more sand and mat to prepare for the additional 1.5 feet of bricks all around - for a total of three additional feet to my patio circle.


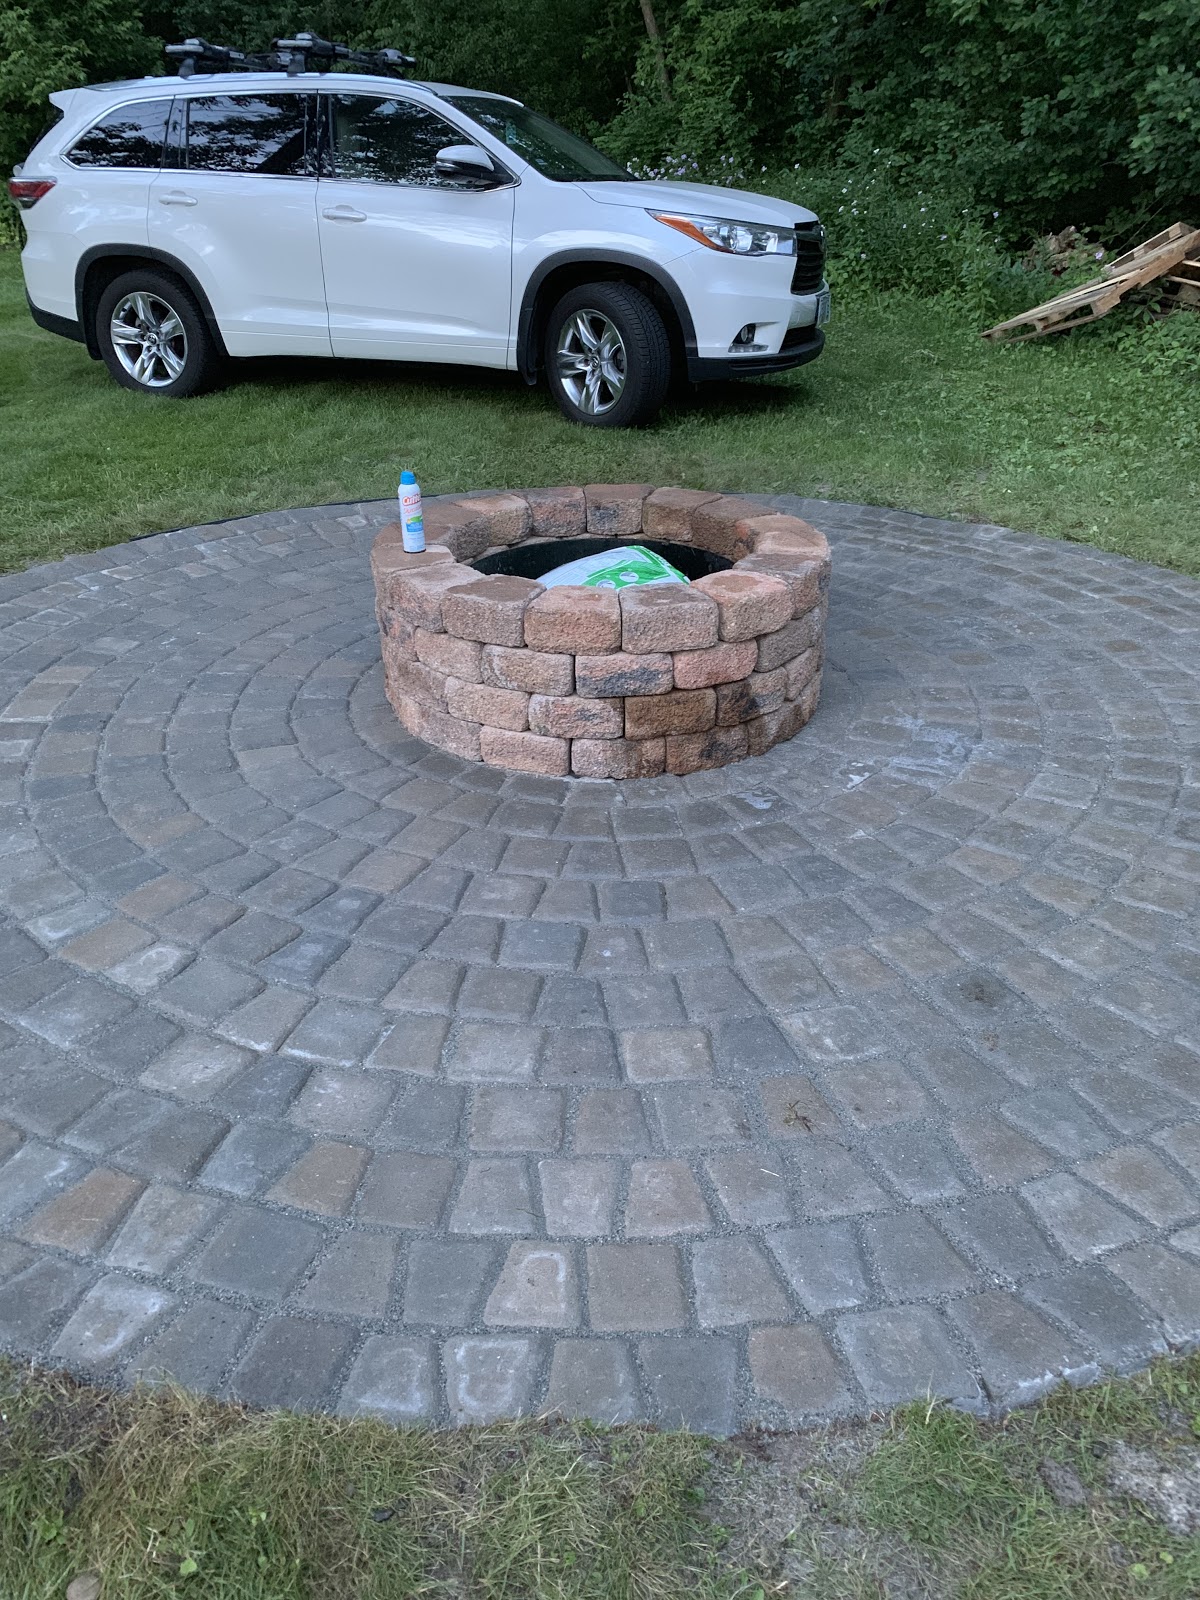
Even though not finished Sully thinks this is a very nice place to nap in the sun. You can see that there is quite a bit of space between the stones. I went ahead and built the fire circle which went around the metal insert above. Again no photos of that process. Next step is to fill with Polymeric sand. This is sand that when wet with water kind of turns into a concrete type material and should keep the stones from moving and shifting around. I did not get pictures of us doing this work but I can tell you it only took us two more trips back to Home Depot to get more sand to fill the cracks. As with any Mender project several trips to Home Depot are a requirement.
The family motto is "Mender Construction, it's not right until it's been done twice"
The picture below shows the patio with the sand and after the first application of water to harden the sand in place. The project is really starting to look great.

To finish up the project Joe went to a patio supply store that sells Adirondack chairs. He ordered two for us and then picked up two for the little girls. Robyn showed Emma the photo below to which her response was "that's so sweet". Looking forward to making s'mores with all the of the grandkids and enjoying time with family and friends this summer.

All of the above represents a lot of hard work and we were lucky to have some lovely days to work not this project. It took about 40 hours start to finish over the course of about three weeks. I'm not sure when you factor in our time if it ended up being less expensive than the original quote but there is a certain sense of accomplishment which came from finishing this project. Something that we'd never tried before, studying about it, and executing to the point that you stand back and really love the results!
We had our first fires this week and our first s'mores on Tuesday. So we are officially calling this a successful Mender project.
